How to Decorate a Graduation Cap Using a Cricut
Graduation season is among us for both college and high school! So first and foremost, congrats grad! You're so close to a huge accomplishment and ready to gear up for the next chapter in your life.
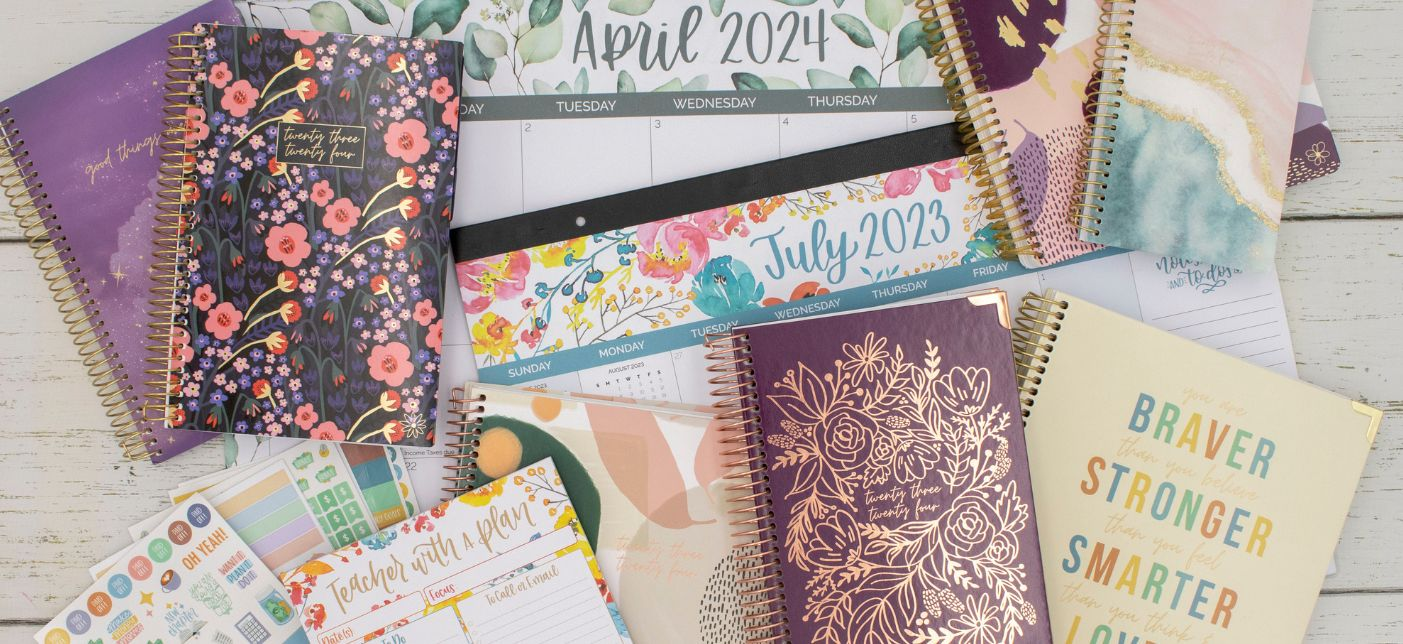
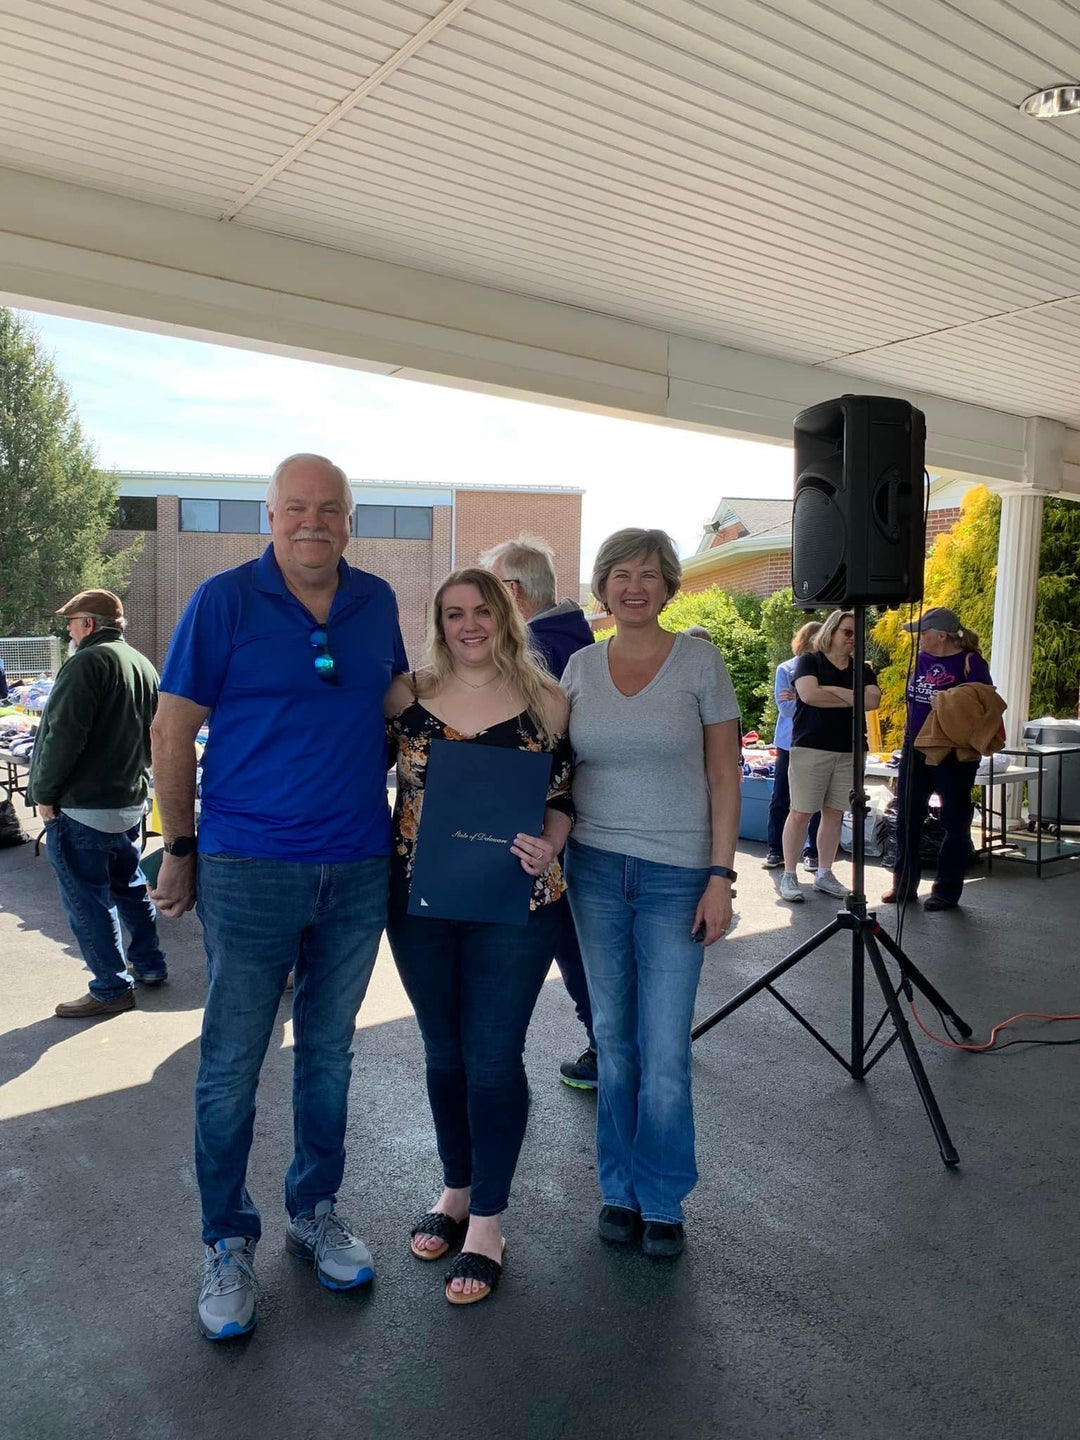
Here at bloom, we can never pass down the opportunity to get creative together. We loved helping our senior interns put together their grad caps that encompasses how they bloomed throughout their four years at the University of Delaware. Follow these simple steps to create a trendy graduation cap for your big day!

1. Find Some Inspiration
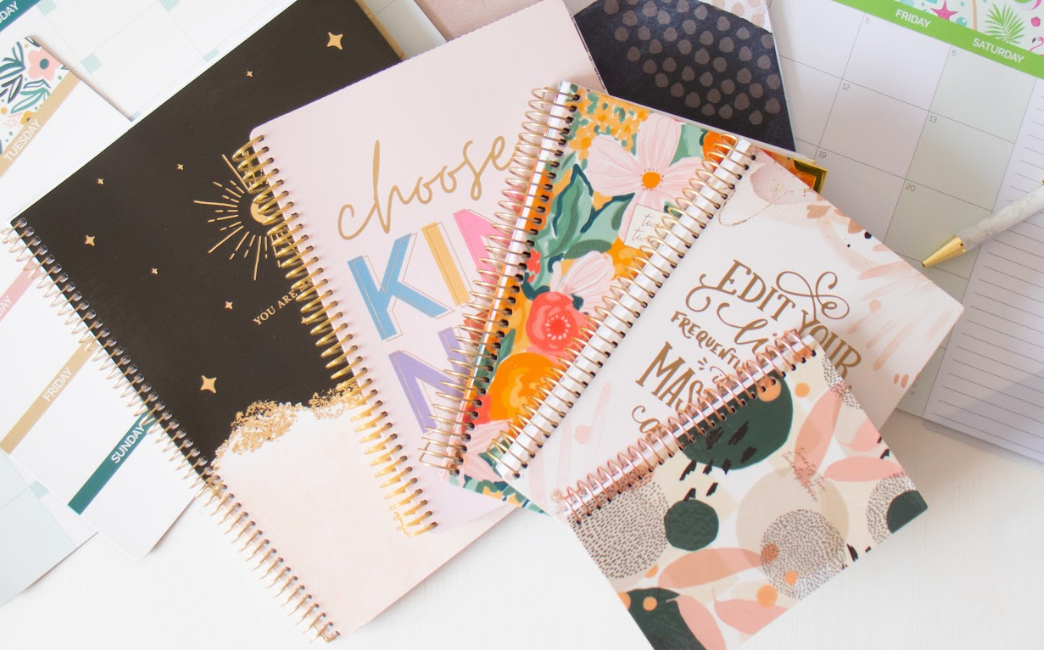
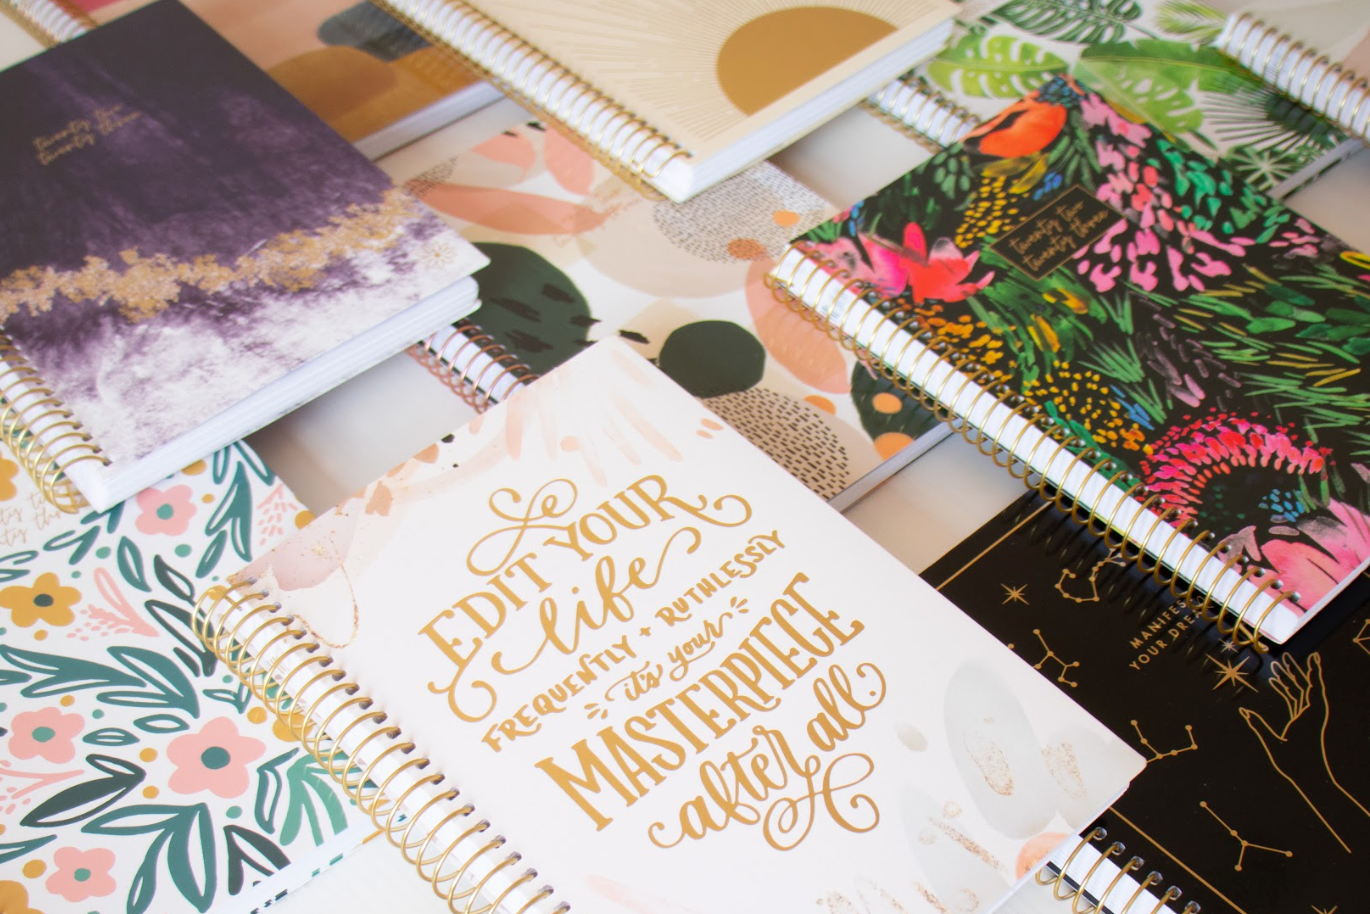
What was defining in your four years? Was it an activity, quote, song, or a TV show that you identified with? Start there, and if you need some clever ideas, Pinterest is bound to have them! Social media intern, Ali, found a lot of her inspiration using bloom products and felt like she really identified with one of the planner quotes "She believed she could, so she did". While our operations intern, Mel, wanted to make hers light-hearted and funny using inside jokes with her friends.

2. Upload Your Text or Graphics and Test
For our graduation caps, we used the help of a Cricut! First, we uploaded our texts and choose a font. It's important to test the Cricut out to make sure everything will print properly. This ensures that you won't be wasting vinyl and that everything will fit perfectly on your cap. This was an important step for Ali because it turned out some of the text was too thin so we were able to make adjustments!

3. Choose a Vinyl Color and Print your Design!
Now that you've tested to make sure everything will look perfect, you're ready to print your design on the Cricut using vinyl paper! Our caps for the University of Delaware are blue so to contrast, our interns used white so it would stick out above the blue. But, this is your time to be creative, so use whatever color you think will pop!

4. Trim and Stick to Transfer Paper
Using a hook tool, trim the vinyl paper to cut out the background leaving just the design you want on your graduation cap. Next, cut a sheet of transfer paper making sure it will cover your design. Make sure once it is placed on top of the design you push out all of the air bubbles. This will ensure easier transfer onto the fabric.

5. Place Your Design On The Cap
Using a scraper tool, press down on the design, securing it onto the fabric of the graduation cap. Once the design is firmly pressed down, slowly start to peel off the transfer paper. If you see some of the design coming up with the transfer paper, use the scraper tool to reaffirm the design onto the cap.

6. Put On The Finishing Touches
A lot of grads like to include clubs they were in or flowers to accentuate their design. Craft stores like Michael's have tons of flower stickers at their stores for cheap prices! For Ali's finishing touches, she wanted to incorporate her Acappella groups slogan "DFTG" and flower sticker to add an extra pop to her cap.
Mel decided to add Croc charms to her cap that showed all the different clubs she participated in throughout her time at UD.

And that's it! Six very simple steps to creating a fun, trendy, and personalized graduation cap. As you can see, our interns went in two very different directions and they both turned out great. We are so excited for all our graduating seniors and can't wait to hear how you all bloom throughout the next chapter in your lives!
Looking for some more inspiration for what you can do with your Cricut? View this blog, 100+ Ideas for What You Can Make with a Cricut Machine.
xoxo,
The bloom team
Leave a comment