DIY Geode Inspired Painting Tutorial
Here at bloom, we love to be innovative. Ideas and inspirations for new designs and new products are being generated and brainstormed here on a daily basis. Once a week, we gather in our conference room and bring these ideas and inspirations to life!
We call this “Creative Friday.” Creative Friday is a wonderful platform for our design team to come together to create and share our unique talents and expertise.
We always strive to stay up to date on current fashion trends and styles. We utilize this day as an outlet to create new designs for products that are both beautiful and functional for all of our customers to enjoy!

Have you ever wished you could turn your favorite rock into a painting? With geode painting, you can do exactly that. Our inspiration came from the geode/geology rock trend. We watched some videos on youtube and read some blogs and came up with our own method for painting! We’ve put together a “how-to” so you can try out geode paining for yourself. Enjoy!

Begin with your canvas and a clean workspace. We'll warn you before you begin; this project is going to get messy. We recommend wearing a smock or apron! Have a piece of cardboard or trash bag under your canvas and over your drop cloth to catch the paint before you start. Prepare the paint (the kind of paint you need depends on the method you choose below) into plastic cups and premix the colors you are using. Get your paintbrushes ready and have a water cup nearby. Now you are ready to begin. We had a lot of fun with this type of painting and we hope you do. We used a few different techniques for this geode style painting. Two methods are explained for you below. Have fun and feel free to experiment with your own style!
Method 1: Watered down acrylic paint poured over your canvas. We also used Liquidex paint in a squeeze bottle tube that helped the paint spread easily over the canvas.

We started off using soft body paint, house paint and regular acrylic paint without watering it down and soon realized we wasted a lot of paint in the process. We found that diluting the paint with water gave the paint a better consistency to spread and blend together over the canvas.
Step 1: Water down whatever type of paint you are using into plastic cups. Or use liquidex paint. Try to obtain the same watered down consistency for all the paint colors you’re using. Once you have prepared enough colors, set them close to your work area and you are ready to begin. We found it useful to have paintbrushes nearby our working areas so that we could have more control over where the paint was falling while we were pouring.
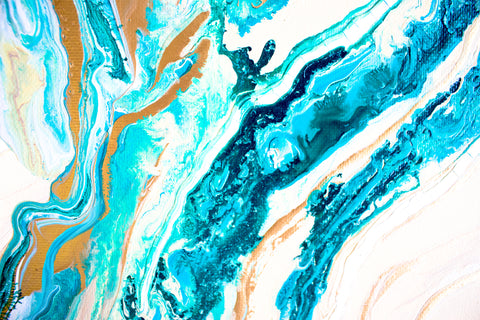
Step 2: Start in a corner with a lighter color towards the middle. Pour paint in thin lines and alternate colors to resemble a layered rock sediment look. For this painting we were very inspired by the patterns in both Blue Agate and Malachite rocks. We could tell as soon as we began pouring that we didn't have too much control over the design, which is a good thing. Let the paint do the blending for you and use a paintbrush as needed. Alternate the colors and cover the canvas completely with paint. Finish this process with the rest of the canvas and feel free to start in a new corner or continue with the same lined pattern.
Step 3: Once the canvas is completely covered in paint, tilt the canvas in different directions and let the paint do it’s blending magic! Once you have achieved the desired amount of blending, let the paint settle and run together with the other colors while it dries.
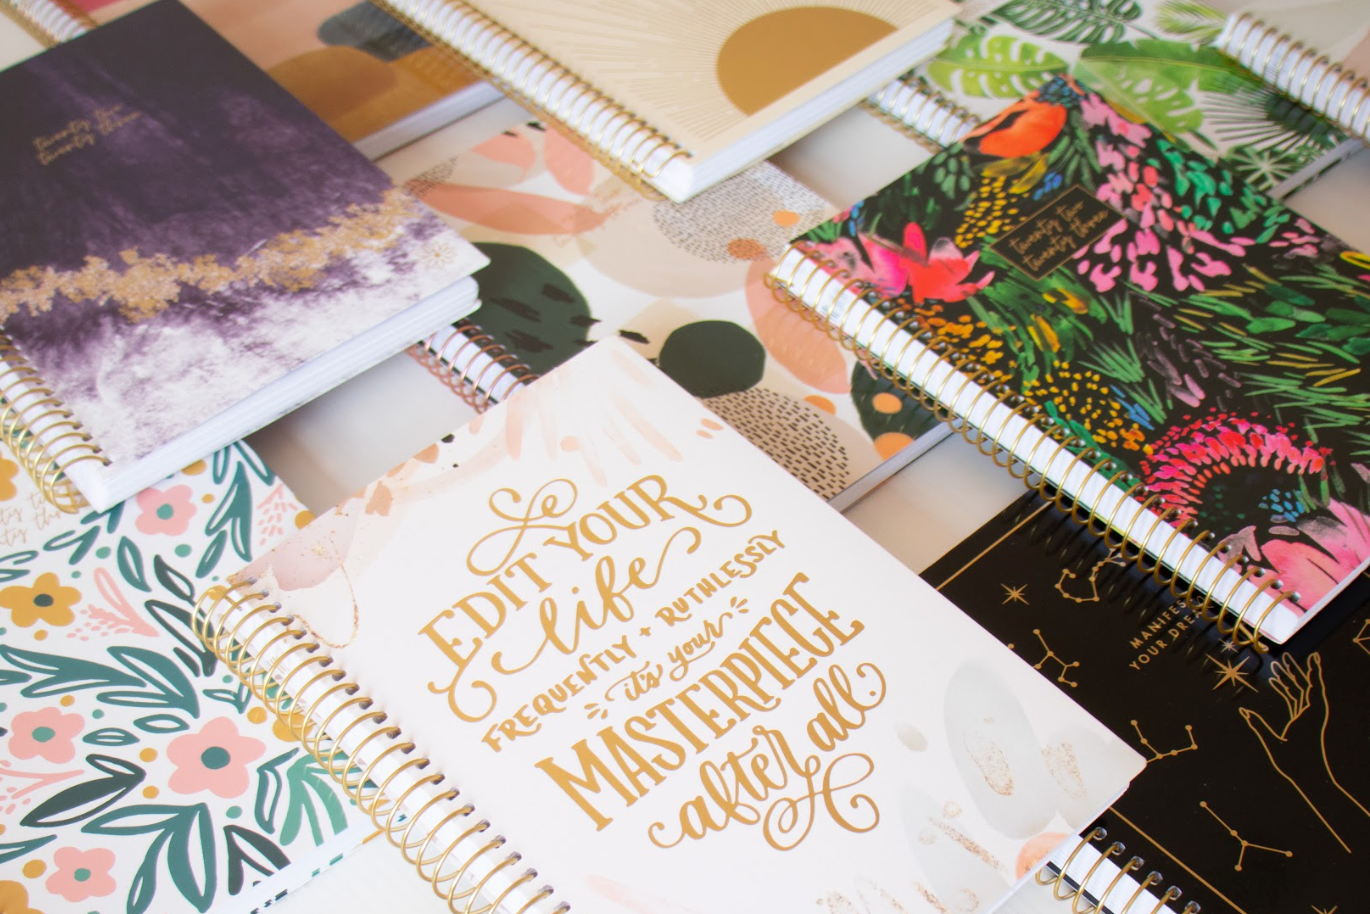
Check it out - the natural flow this method gave this painting an A+ for accomplishing a natural earthly crystal feel!

Method 2: Acrylic Paint and paintbrush.

In this method the paintbrush will be doing most of the work. Note that in this method we used all types of paint consistencies the paint does not have to be watered down. Dab the tip of the paintbrush bristle with the desired colors you want to use and spread it across the canvas to get the look and shape of the rock you are going for. In this method you have more control over what specific type of shape, pattern and rock you are going for. We also found that with this method we did not have to waste a lot of the paint like we had done in the previous method.
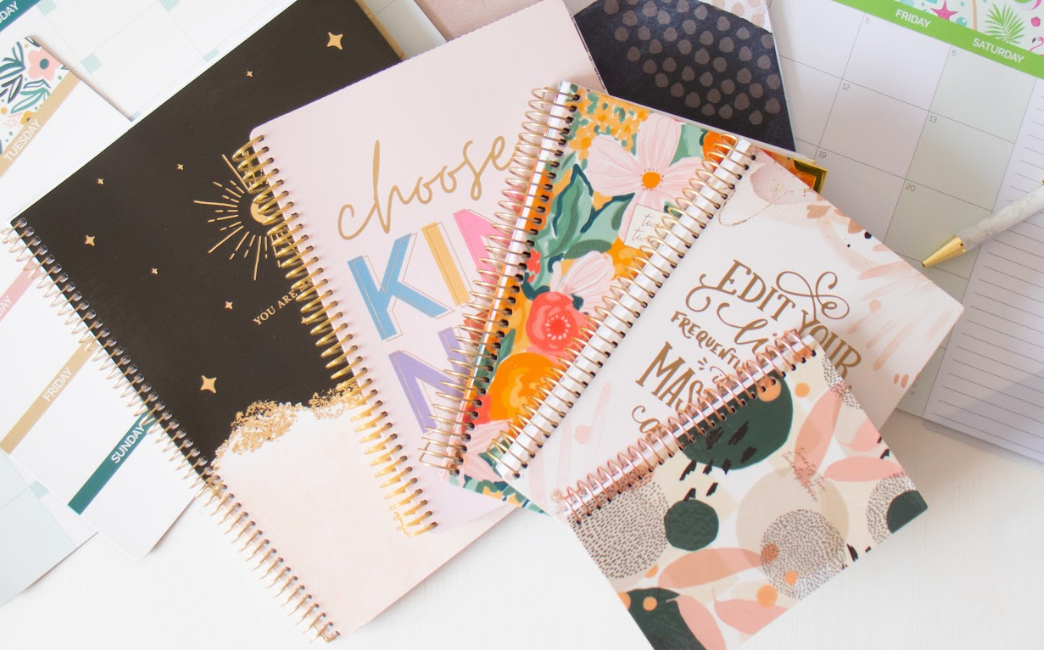
We let the paintings dry over the weekend and were extremely happy to come in Monday morning and see our results! Here are some other geode paintings we came up with.
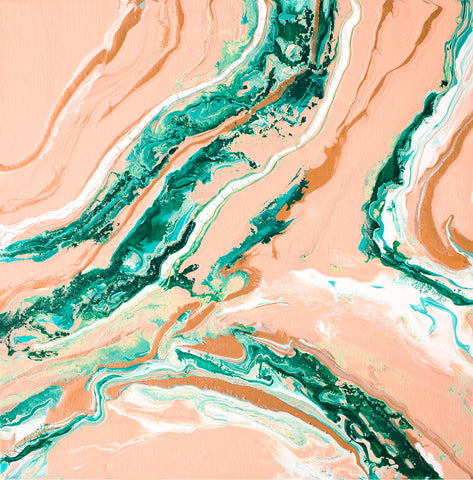


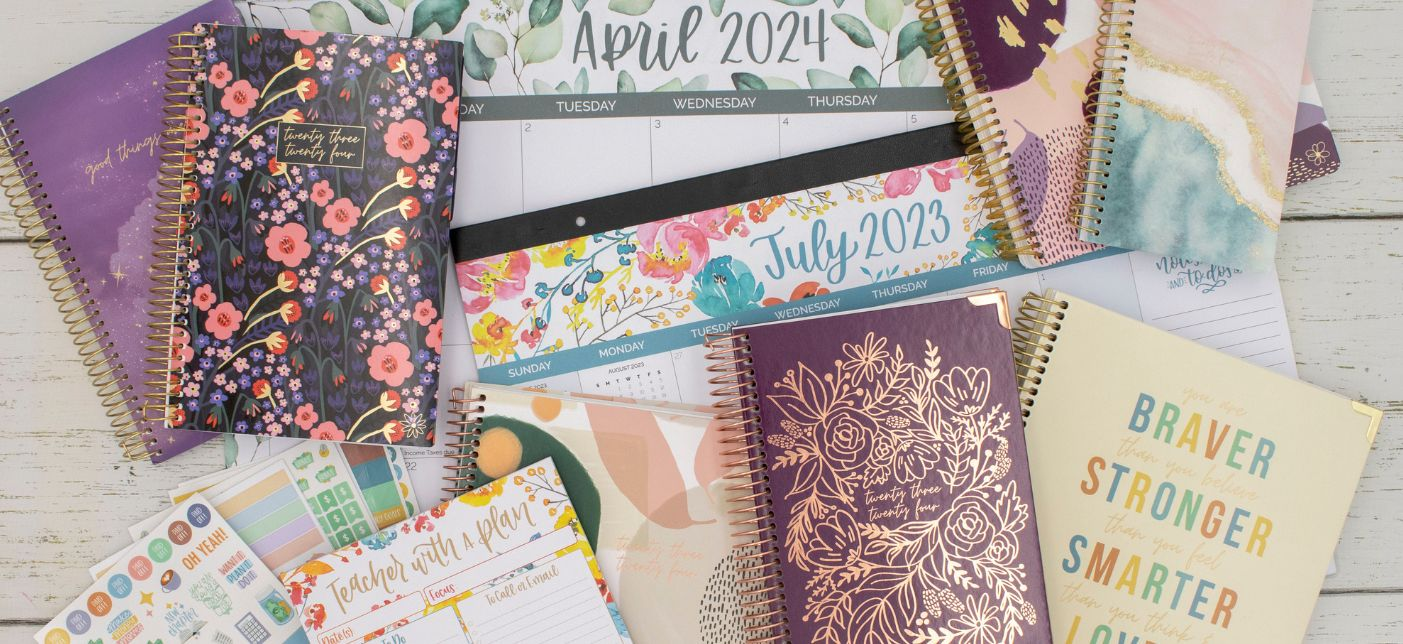
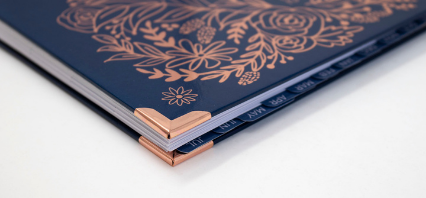
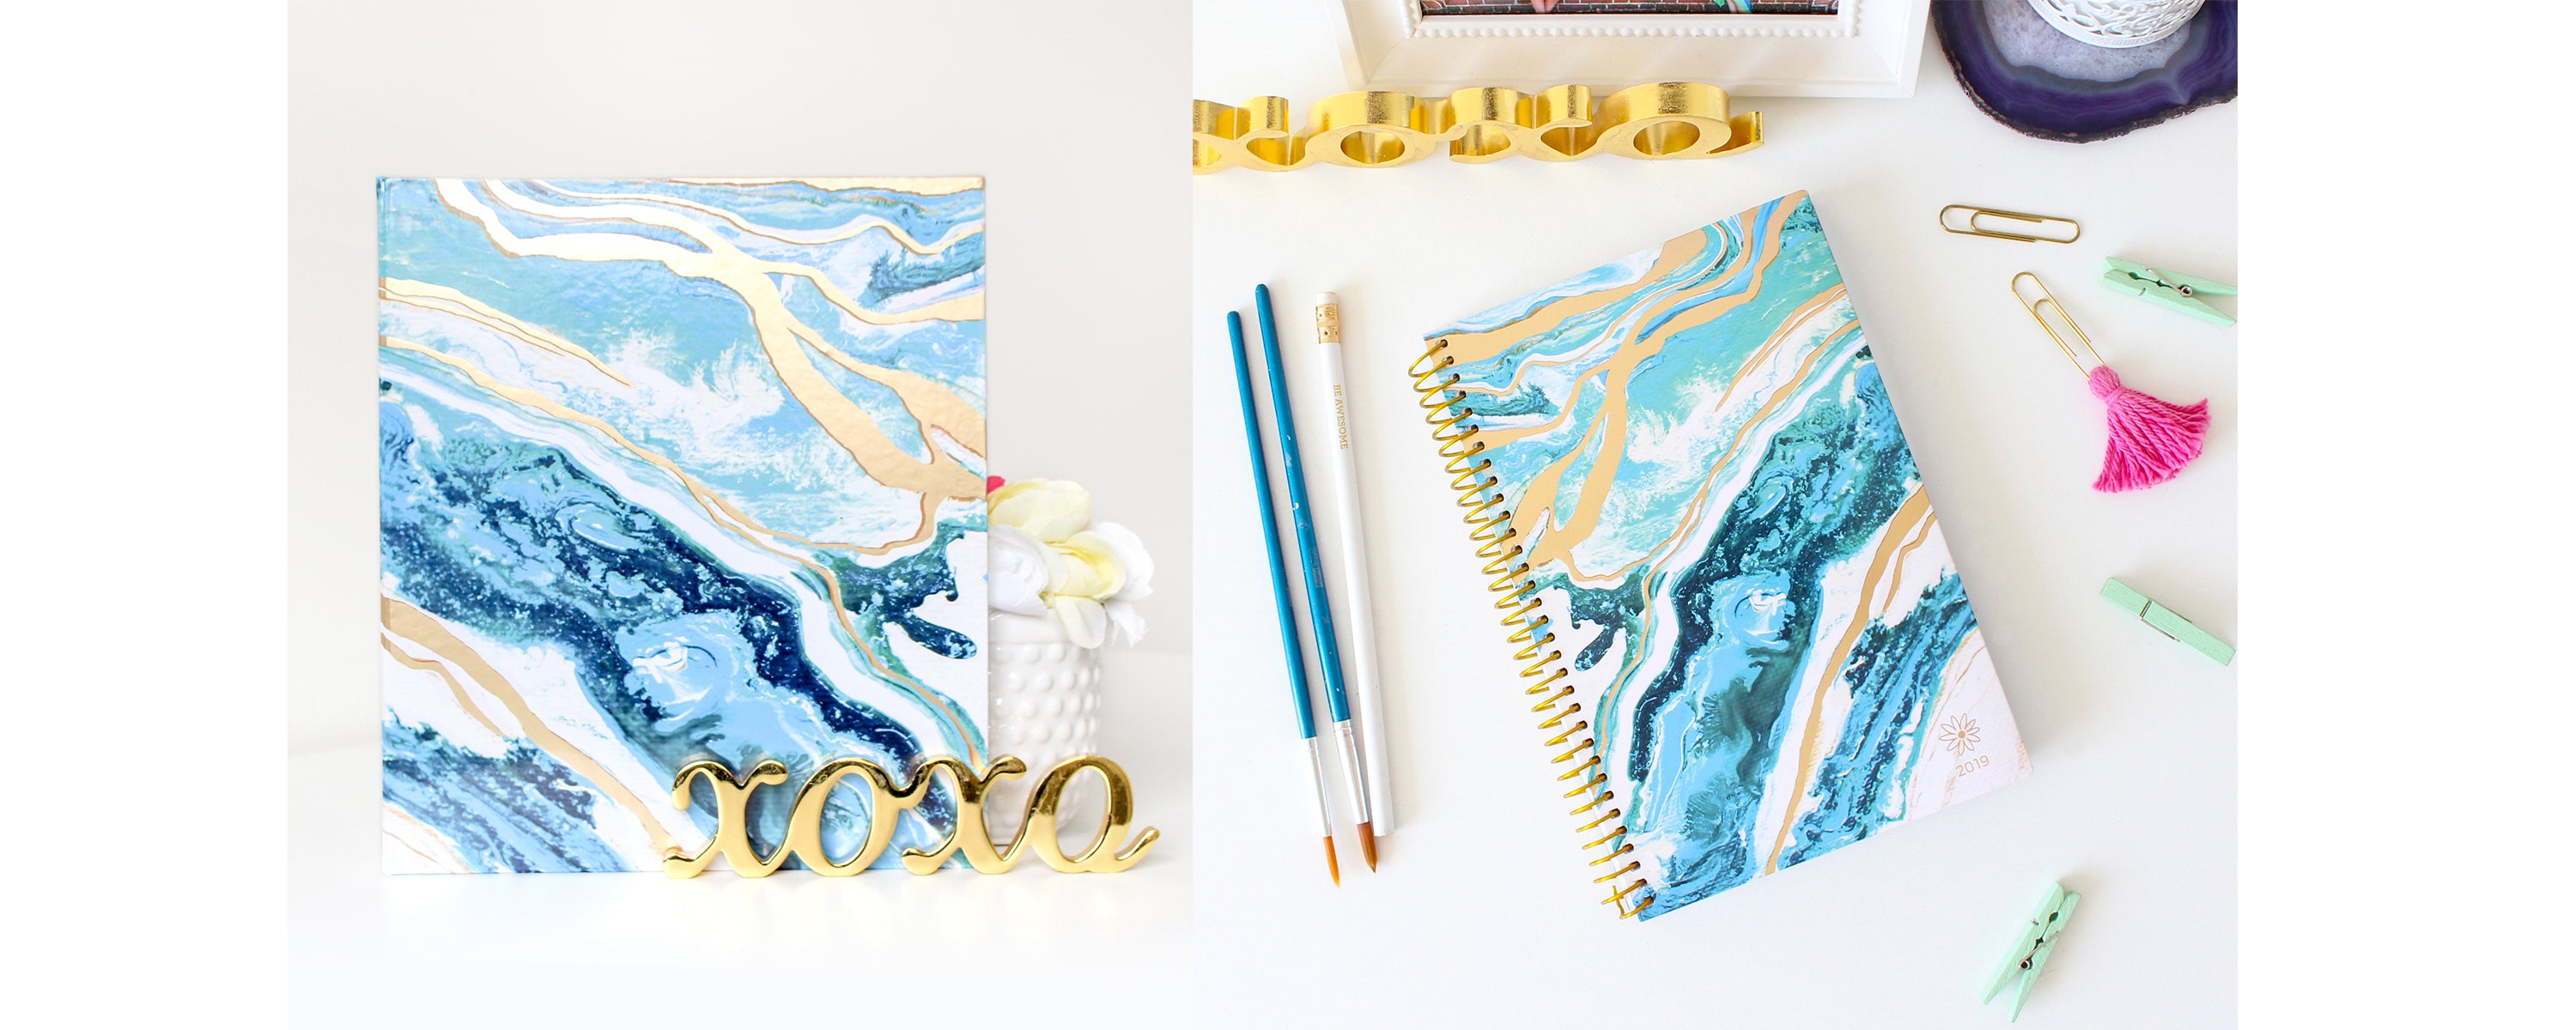
Check out the planner we made with one of our favorite paintings from this tutorial!
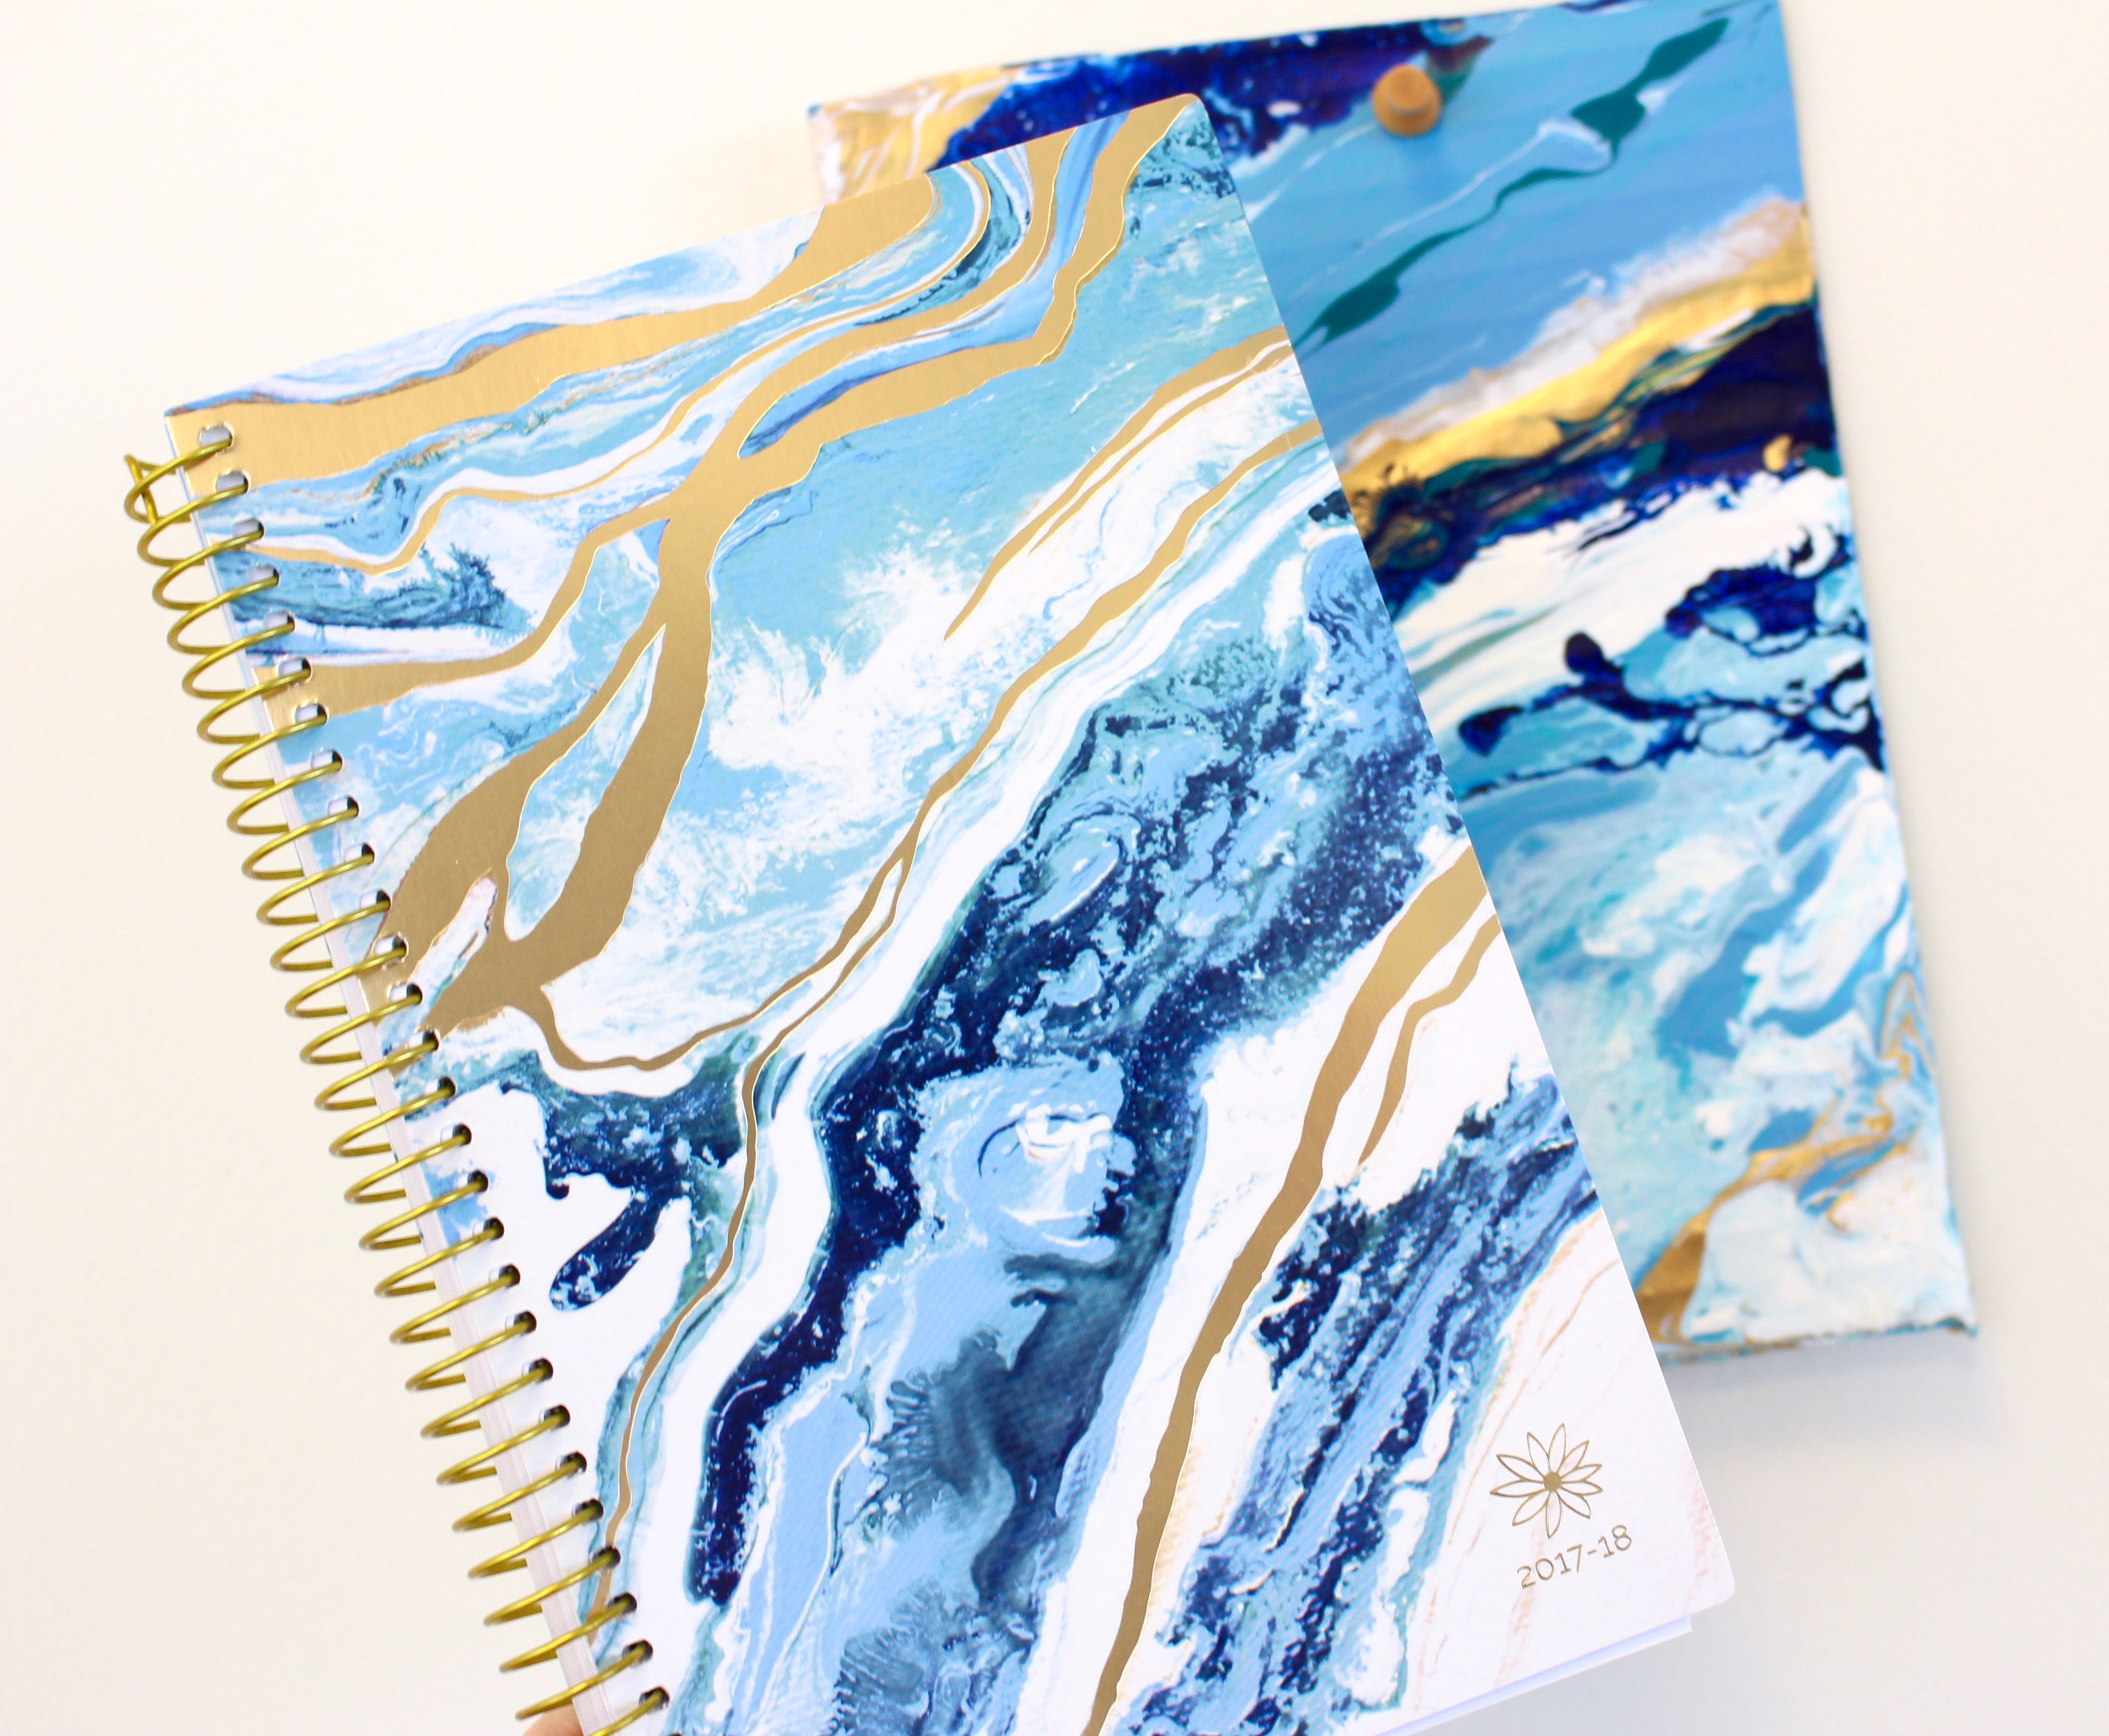
You can shop our current geode planner and binder here! PLANNER BINDER
We hope this inspires you to create your own geode paintings with whatever method you decide to use. Have fun!
xoxo,
The bloom team
Leave a comment